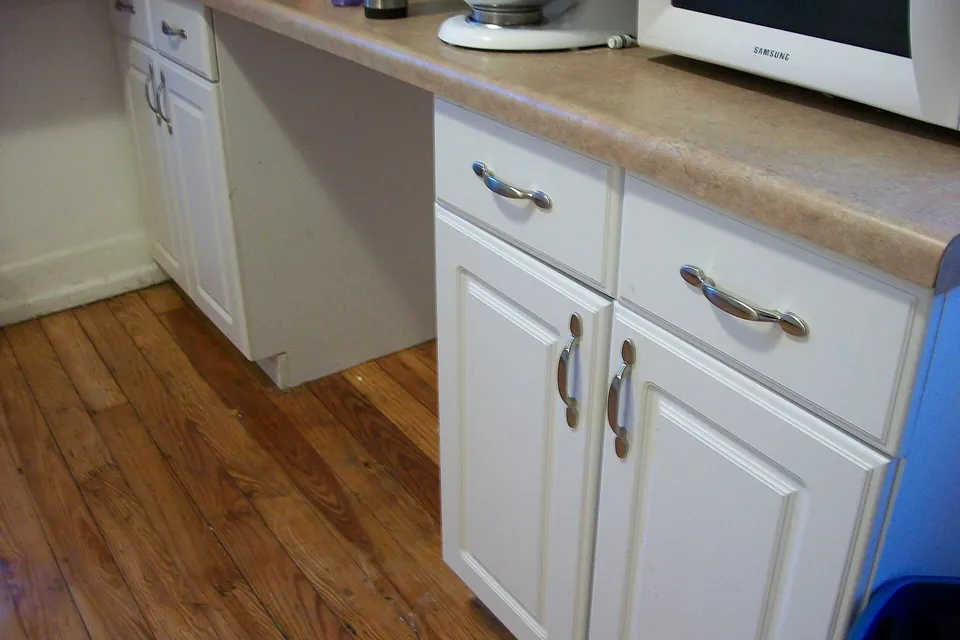
Kitchen cabinet resurfacing: refacing, painting and new doors, step by step
Cabinets usually take the largest share of a kitchen budget, yet in many kitchens the cabinet boxes are perfectly sound — it is the doors, finishes and hardware that look tired. Resurfacing keeps the boxes and changes their face. It costs less than new cabinets, takes days rather than weeks, keeps the kitchen usable and sends far less material to landfill. This guide explains how to tell whether your cabinets are good candidates, the options for professional refacing, and how to paint cabinets yourself so the finish lasts. For how cabinets are built and sized, see our guide to kitchen cabinet design.
Are the boxes worth keeping?
Resurfacing only makes sense if the structure is sound and the layout works. Check:
- Water damage: look at the floor of the sink base and the bottom edges of cabinets near the dishwasher. Swollen particleboard, delamination or soft spots mean those boxes need replacing.
- Squareness: doors that will not close evenly despite hinge adjustment may indicate racked boxes.
- Shelves and drawers: sagging shelves can be replaced; drawer boxes that are falling apart can be rebuilt or replaced with new drawer boxes and slides as part of the job.
- Layout: if the kitchen does not work — not enough counter, appliances in the wrong place — a new face will not fix it. Our guide to defining your dream kitchen helps decide what you really need.
Partial replacement is common: keep most boxes, replace the sink base or add a new pantry unit, and reface everything to match.
Option 1: professional refacing
In refacing, a specialist covers the visible faces of the existing cabinet boxes — the face frames and exposed end panels — with a new skin, then installs new doors, drawer fronts and hardware. The usual sequence is:
- Measure, choose door style and finish, and order new doors and drawer fronts.
- Remove old doors, drawer fronts and hardware.
- Repair and clean the boxes; replace damaged parts.
- Apply new veneer or laminate to face frames and end panels.
- Install new doors, drawer fronts, hinges and pulls; often new drawer slides and soft-close hinges at the same time.
The kitchen generally remains usable, and countertops can stay in place, although refacing is also a natural moment to replace them.
Refacing materials
- Wood veneer: a thin layer of real wood, stained or painted. It gives the most natural look and can be refinished later.
- Rigid thermofoil (RTF): a vinyl film heat-formed over MDF doors. It is smooth, consistent and easy to clean, but can lift or discolour near heat sources such as ovens and toasters unless heat shields are used.
- Laminate: high-pressure laminate is very durable and resistant to moisture and scratches, and comes in solid colours, wood grains and stone looks. It suits flat-panel styles.
Whichever you choose, ask for samples and check how edges are finished: edges and corners are where refaced surfaces wear first. In the United States, composite wood panels used in new doors must comply with the EPA's formaldehyde emission standards under TSCA Title VI.
Option 2: new doors only
On frameless cabinets with standard hinge positions, it may be enough to order new doors and drawer fronts from a door maker and fit them yourself. This is the simplest way to change style, from raised panel to Shaker or slab, for example. Measure every opening carefully and decide on overlay before ordering.
Option 3: painting cabinets yourself
Painting is the least expensive transformation, and the most labour-intensive. A durable finish depends almost entirely on preparation.
Before you start
- Lead: if your home was built before 1978, old paint may contain lead. The EPA advises testing first; if lead is present, follow lead-safe work practices or hire a contractor certified under the Renovation, Repair and Painting Rule.
- Existing finish: lacquered and varnished wood, painted wood, laminate and thermofoil each need different primers. Thermofoil is generally a poor candidate for painting.
- Products: choose a bonding primer suitable for the surface and a hard-wearing cabinet enamel, ideally low-VOC. Ventilate well, as the EPA recommends for any painting indoors.
Step by step
- Label and remove doors, drawer fronts and hardware. Number each door and its opening on a strip of tape.
- Degrease thoroughly. Kitchen cabinets carry years of invisible grease; paint will not stick to it. Use a degreaser recommended by the paint maker and rinse.
- Repair: fill dents and old hardware holes if you are changing pull positions.
- Sand lightly to scuff the surface, then remove all dust.
- Prime all surfaces to be painted; sand lightly when dry.
- Paint in thin coats, two or three, with fine sanding between. Spraying gives the smoothest result; a good brush and fine foam roller work well with patience.
- Let it cure. Enamels may be dry to the touch in hours but take days or weeks to reach full hardness. Rehang doors carefully and avoid heavy use at first.
- Refit hardware, adding bumpers so doors do not stick to the frames.
Finishing touches
New hinges with soft-close dampers, full-extension drawer slides and new pulls make refaced or painted cabinets feel new as well as look new. Add under-cabinet lighting while the doors are off; see our article on decorative kitchen lighting. For other ways to change the look without a remodel, read our guide to kitchen decorating solutions.
When to choose new cabinets instead
Replace rather than reface if the boxes are water-damaged or poorly built, if the layout must change, if you need different heights or depths, or if the kitchen is already being gutted for plumbing and electrical work. In those cases our remodeling plan is the better starting point.
Sources
- US Environmental Protection Agency, Lead Renovation, Repair and Painting Program, and "Lead-Safe Certified Guide to Renovate Right".
- US Environmental Protection Agency, Formaldehyde Emission Standards for Composite Wood Products (TSCA Title VI).
- US Environmental Protection Agency, "Volatile Organic Compounds' Impact on Indoor Air Quality".
Last reviewed: 6 November 2026.