Kitchen remodeling: a step-by-step plan from first idea to final inspection
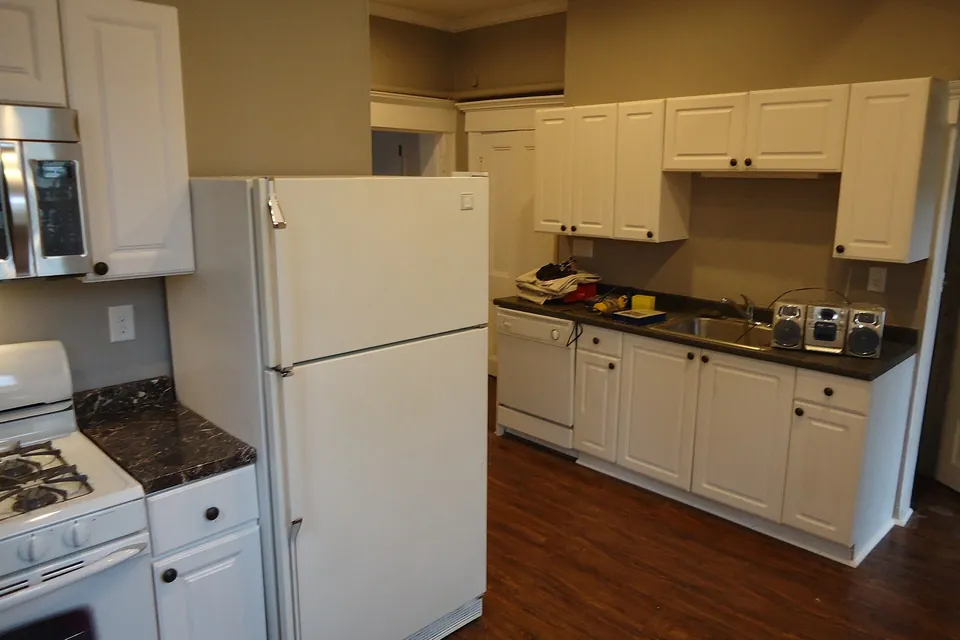
A kitchen remodel is one of the most disruptive projects a household takes on: for weeks, sometimes months, the room at the centre of daily life becomes a building site. Most of the stress comes not from the work itself but from decisions made late, surprises behind walls and unclear agreements. This plan sets out the stages of a typical remodel in the order they happen, with the questions to settle at each one.
1. Decide what problem you are solving
Start with a list of what does not work today: not enough counter, a dark corner, a refrigerator that blocks the doorway, worn surfaces, poor ventilation. Then list what you would like that you do not have. Sorting these into "must fix", "would like" and "nice if the budget allows" gives you a way to make trade-offs later, when the quotes arrive.
Be clear about scope. A cosmetic refresh — new paint, hardware, lighting and perhaps countertops — keeps the layout and avoids most structural, plumbing and electrical work. A full remodel changes the layout and usually replaces cabinets, surfaces, appliances, lighting and often wiring and plumbing. Opening a wall to another room is a third category: it may involve structural engineering and almost always needs a permit.
2. Set a budget with a contingency
Costs vary so much by region, house and specification that national averages are of limited use for a specific project. The more reliable approach is to get detailed quotes based on your own plan. Two habits help regardless of where you live:
- Hold back a contingency, commonly 10 to 20 percent of the construction budget, for problems discovered once walls and floors are opened — rot under a sink, out-of-date wiring, an uneven subfloor.
- Price the hidden items: permits, disposal of debris, temporary kitchen arrangements, electrical upgrades, ventilation ducting, patching adjoining rooms and repainting.
Cabinets typically take the largest single share of a full remodel's budget, which is why the decision to keep, reface or replace them shapes everything else.
3. Design before you demolish
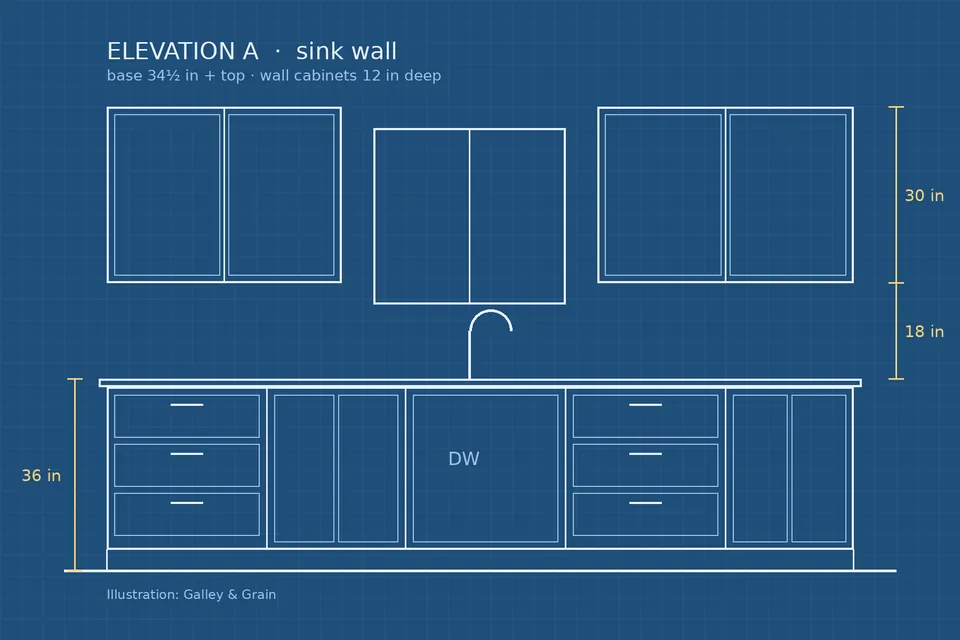
Complete the design — layout, cabinet plan, appliances, surfaces, lighting and outlets — before work begins. Changes made after demolition cost more and delay every trade that follows. Order long-lead items early: custom cabinets, some appliances and stone countertops (which are measured from the installed cabinets) can each take weeks.
Think about the remodel as a chance to fix things you will not want to open up again: adding circuits, replacing old supply pipes, upgrading the range hood duct to the outside, adding insulation to an exterior wall, or installing blocking for future wall cabinets or grab bars.
4. Permits and inspections
In most places, work that changes plumbing, gas, electrical wiring, structure or ventilation requires a building permit, while purely cosmetic work does not. Rules differ by jurisdiction, so check with your local building department. Permits are not just paperwork: inspections at rough-in and at completion confirm that hidden work meets code, and unpermitted work can cause problems with insurance claims or when you sell.
5. Older homes: lead, asbestos and other hazards
If your home was built before 1978, painted surfaces may contain lead. In the United States, the Environmental Protection Agency's Renovation, Repair and Painting (RRP) Rule requires that contractors paid to disturb more than six square feet of painted surface per room in pre-1978 homes be certified and follow lead-safe work practices. Dust from sanding, cutting or demolition is the main hazard, especially for young children and pregnant people.
Older vinyl floor tiles, sheet flooring adhesives, some textured ceilings and pipe insulation may contain asbestos. The EPA advises that suspected material should be left undisturbed until it has been tested by a trained professional; if it must be removed, it should be handled by accredited specialists. Build the time and cost of testing into the plan for any house of uncertain age.
6. Choosing who does the work
Depending on the project, you may hire a design-build firm that handles both design and construction, a kitchen designer plus a general contractor, or individual trades coordinated by you. Whichever route you choose, the US Federal Trade Commission's consumer advice on hiring a contractor gives sound basics:
- Get several written estimates based on the same plan and specification.
- Check licensing and insurance with your state or local licensing authority, and ask for references from recent, similar jobs.
- Insist on a written contract that sets out the scope, materials, schedule, payment stages, who obtains permits, how changes will be priced and how debris will be removed.
- Avoid paying a large share up front; tie payments to completed stages of work.
- Ask for lien waivers from the contractor and major suppliers as you pay, so you are protected if subcontractors go unpaid.
7. The usual order of work
- Protection of adjoining rooms and dust control.
- Demolition and removal of debris.
- Structural changes, if any.
- Rough-in of plumbing, gas, electrical and ventilation, followed by inspection.
- Insulation, drywall or plaster, and priming.
- Flooring (in many projects before cabinets; in others after — agree this with your installer).
- Cabinet installation.
- Countertop template, fabrication and installation.
- Backsplash tile, sink and faucet, appliances, light fixtures and finish electrical.
- Painting, trim, hardware, final inspection and a written punch list.
8. Living without a kitchen
Set up a temporary kitchen elsewhere in the house before demolition: a table, the refrigerator if it can be moved, a microwave or portable induction burner, a kettle and a plastic tub for washing up. Plan simple meals and expect the schedule to slip a little. Protect your sanity by agreeing with the contractor on working hours, where workers will park and use a bathroom, and how the site will be left at the end of each day.
Planning your "dream kitchen" without regret
Before any of the steps above, it helps to write a clear brief; our guide to defining your dream kitchen shows how.
Magazine kitchens are designed to photograph well. Your kitchen has to work at 7 a.m. on a school day. When an idea catches your eye — a huge island, open shelving, a professional-style range — ask what it asks of you in return: cleaning, ventilation, space, maintenance. The best remodels usually spend generously on the things touched every day (drawers, faucets, the main work surface, lighting) and stay modest on features used once a month.
Sources
- US Environmental Protection Agency, "Lead Renovation, Repair and Painting Program" (RRP Rule).
- US Environmental Protection Agency, "Protect Your Family from Exposures to Asbestos" (guidance for homeowners).
- US Federal Trade Commission, Consumer Advice, "Hiring a Contractor".
- Local building departments for permit requirements.
Last reviewed: 6 November 2026.